


Gushin Optics
5-45x56 FFP Zero Stop - Tubo da 34 mm, valore di clic 0,05 Mrad
5-45x56 FFP Zero Stop - Tubo da 34 mm, valore di clic 0,05 Mrad
Esaurito
Impossibile caricare la disponibilità di ritiro
 Life Time Warranty
 Japanese Glasses
 MIL-STD 810G Standard
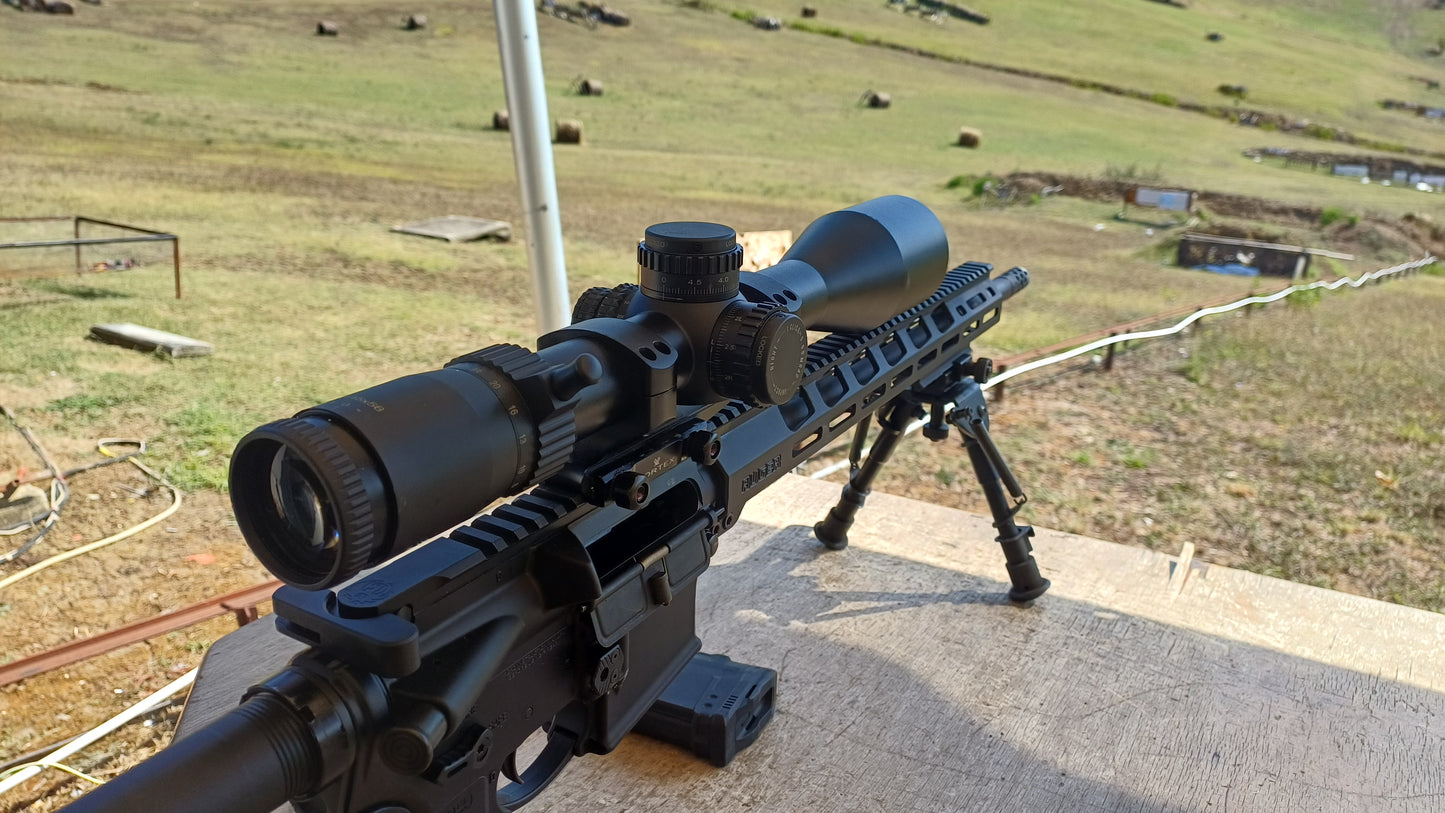
Come tiratore competitivo, ho bisogno di ottiche che funzionino egregiamente, e il Gushin 5-45X56 FFP è la risposta. Con una trasmissione luminosa del 90%, ottengo un'ottica cristallina che funziona dall'alba al tramonto. Lo zoom 5-45x e il reticolo FFP mi permettono di mantenere la precisione a qualsiasi distanza, mentre i clic precisi da 0,05 MIL mi permettono di impostare i tiri alla perfezione. Apprezzo in particolare la parallasse laterale fluida (da 10 m all'infinito) e l'inseguimento solido come una roccia: mantiene sempre lo zero, indipendentemente da tutto. Il tubo da 34 mm gestisce il rinculo come un campione sul mio .308 e, con poco più di 1 kg, è abbastanza leggero per l'uso sul campo. Il reticolo illuminato funziona anche alla luce del giorno. Per il prezzo, si ottengono caratteristiche da torneo senza il sovrapprezzo del marchio premium: è diventato il mio cannocchiale di riferimento per le gare PRS, dove ogni frazione di MIL conta.


TECH SHEET
SPECIFICHE TECNICHE
RETICLE

2. Sottensioni tecniche
| ID | Valore angolare (mrad) | Valore fisico (mm @100 m) | Descrizione |
|---|---|---|---|
| UN | 0,022 mrad | 0,006 millimetri | Spessore sottile della linea centrale |
| B | 0,8 mrad | 0,216 millimetri | Distanza dal centro alla prima barra di riferimento orizzontale |
| C | 1,0 mrad | 0,270 millimetri | Spaziatura standard tra i segni primari |
| D | 0,1 mrad | 0,027 millimetri | Spaziatura della divisione minore |
| E | 0,4 mrad | 0,108 millimetri | Spaziatura della griglia principale nell'albero |
| F | 0,2 mrad | 0,054 millimetri | Sottile sottotensione (tra i punti) |
| G | Ø 0,04 mrad | Diametro 0,0108 mm | Diametro del punto centrale |
| H | 0,6 mrad | 0,162 millimetri | Spaziatura degli intervalli di media gamma |
| IO | 0,5 mrad | 0,135 millimetri | Spaziatura della griglia laterale oltre 6 mrad |
| J | 0,035 mrad | 0,0094 millimetri | Spessore della linea del reticolo (griglia principale) |
| K | 0,3 mrad | 0,081 millimetri | Spaziatura dei tick di derivazione nella griglia inferiore |
| L | Ø 0,1 mrad | Diametro 0,027 mm | Grandi punti incrociati (segni di distanza) |
| M | Ø 0,06 mrad | Diametro 0,016 mm | Piccoli punti tra grandi segni di croce |
| N | 0,15 mrad | 0,040 millimetri | Distanza tra le linee degli alberi inferiori |

Youtube Review
See what experts are saying about our products
Sendit Armory
A "MONSTER" OF AN OPTIC AT A TRULY INCREDIBLE PRICE? THE 5-45 X 56 FFP Gushin Optics.
Tactical Raiders Shooting
Gushin Optics Test Outdoor - LVDRINIVM COETVS 2026
Sendit Armory
TIKKA ACE TARGET 6.5 CREEDMOOR + GUSHIN 7-35 X 56? ... BOOM !!!


Constant Eye Relief Advantages
Experience consistent comfort and performance across all magnification levels
Stable, repeatable cheek weld
Your consistent shooting cheek position does not require adjustment when switching magnification during a stage. Critical for PRS and multi-distance match courses where targets demand rapid zoom changes
Eliminates scope bite risk
Fixed eye relief removes unexpected backward shifts at high magnification. You avoid painful recoil-related ocular impact even with powerful centerfire platforms.
Uninterrupted full field of view
No vignetting or partial black ring around the sight picture after zooming. Instant full-view visibility every time you acquire the target.
Faster target acquisition
You maintain the same head position throughout variable zoom. Less wasted movement translates to quicker follow-up shots and faster engagement of multi-range targets.
Why Shooters Actually Need 0.05 MRAD?
Ultra-Fine 0.05 MRAD Per-Click Adjustment
Many precision riflescopes utilise 0.1 MRAD turret increments. Our 0.05 MRAD tuning delivers twice the adjustment resolution. 0.1 MRAD = one single click shifts point of impact 0.1 milliradian. 0.05 MRAD = each click moves impact by just 0.05 milliradian, enabling micro ballistic correction unavailable on coarser turret systems.
Precise Micro-Correction for Wind & Atmospheric Variables
Long-range wind seldom arrives in large, neat 0.1 MRAD increments. 0.05 MRAD steps let you dial half-value wind adjustments for subtle light crosswinds, temperature shifts, minor muzzle velocity variance. With 0.1 MRAD turrets, you are forced to over-correct or under-correct between clicks.
Superior Precision for Small Target Apertures
In PRS / DMR matches, tiny steel targets at extended distance demand granular tuning. Finer increments minimise aiming error when engaging minimal target hit zones.
Compatible With Standard MRAD Reticle Ranging Logic
All etched MRAD reticles mark in 0.1 MRAD intervals. 0.05 MRAD clicks perfectly align for half-increment holdover conversion. You can dial exactly halfway between two reticle lines without compromise.
Work alongside your 140-Click total elevation travel
Paired with our 140-click elevation travel (±3.5 MRAD usable range), you gain both wide ballistic correction capacity AND ultra-fine tuning. Critical distinction: Total click travel = maximum adjustment range; per-click value = how accurately you can tune within that range. 0.05MRAD + 140 clicks = you have long-distance dial capability and delicate precision at every distance.
Application Scenario Comparison
0.1 MRAD adjustments remain suitable for hunting and general recreational shooting with larger target zones. For competitive precision match shooters prioritising every possible advantage, 0.05 MRAD incremental tuning removes adjustment granularity limitations.
Zero Stop Ring (Removable Type) Setup Procedure
- Remove the Turret Cap
Unscrew or pull off the outer protective cap of the elevation turret, exposing the zero stop ring and its three retaining screws. - Remove the Zero Stop Ring
Using the supplied hex key (typically 1.5 mm or 2.5 mm), completely unscrew all three retaining screws (store them safely). Carefully lift the zero stop ring vertically off the turret base. The elevation turret now has no lower stop and can be rotated freely through its full range. - Perform Live-Fire Zeroing
With the ring removed, zero the riflescope at your intended distance (e.g., 100 yards) by adjusting the elevation turret as usual.
⚠️ Note: Since there is no lower mechanical stop, be cautious not to over‑rotate the turret beyond its internal travel limits. - Reinstall the Zero Stop Ring and Engage the Locking TeethOnce zeroed, keep the turret stationary – do not turn it further.Slip the zero stop ring back onto the turret base. Rotate the ring (while the turret remains fixed) until you feel a distinct click or resistance, and the ring can no longer be turned clockwise – this indicates that the internal stop teeth have fully engaged with the corresponding grooves on the base, mechanically locking the zero position. At this point, the “0” mark on the ring should align with the reference mark on the scope body (minor adjustments to the ring are acceptable as long as the teeth remain engaged).
- Tighten the Retaining Screws
Reinstall the three retaining screws and tighten them evenly (use a torque wrench if available; otherwise, apply moderate, uniform force to avoid stripping the threads). - Replace the Turret Cap
Put the outer cap back on, ensuring its zero index aligns with the scope body mark. The zero stop is now fully set.
Operation after setup – To shoot at longer distances, rotate the turret counter‑clockwise. To return to zero, rotate clockwise until it stops mechanically – your original zero is restored instantly.
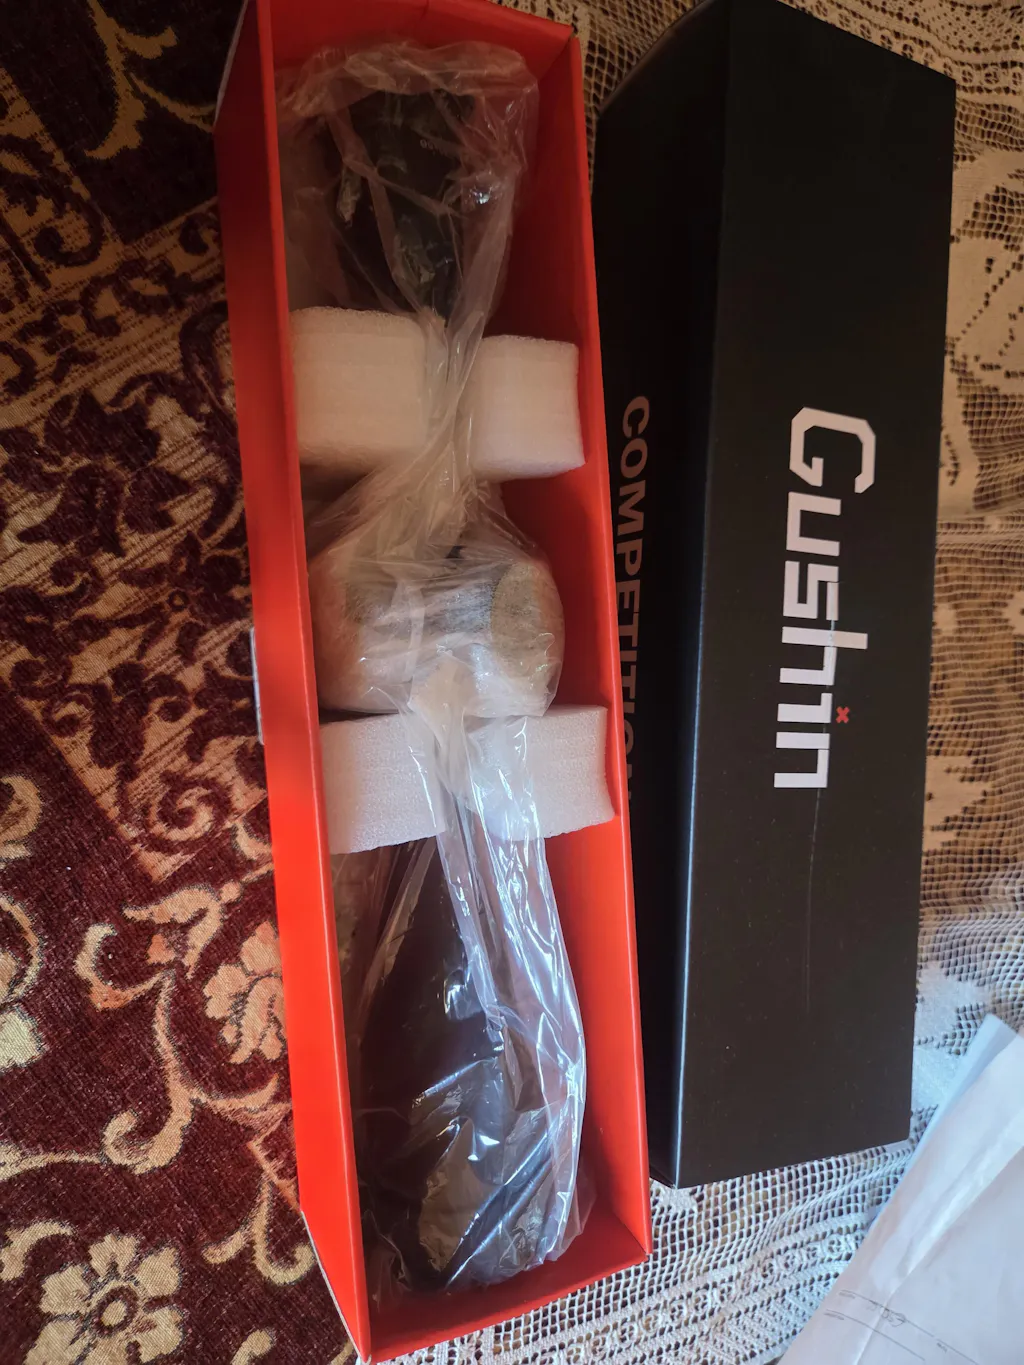
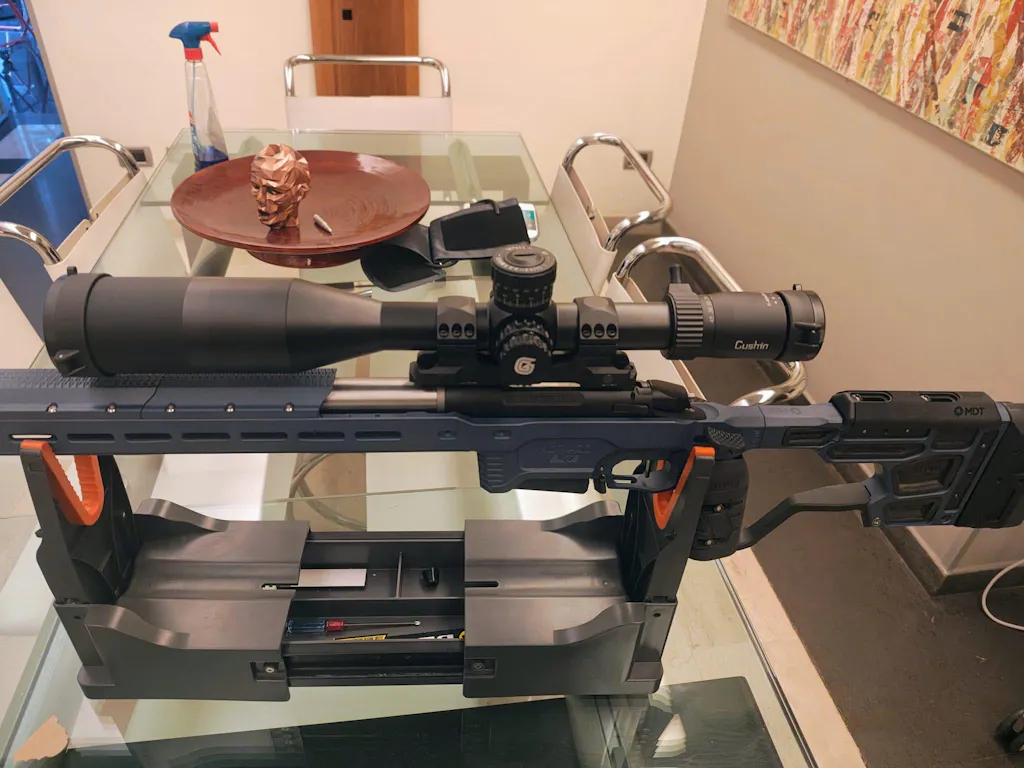

LIFE TIME WARRANTY
At Gushin Optics, we stand behind the quality and performance of every product we make. We are proud to offer LIFETIME WARRANTY on all of our optics and gear, ensuring that you have the confidence to push your limits, no matter where your adventures take you.